- Login to SEAGrid desktop client.
- Select Nanocad editor
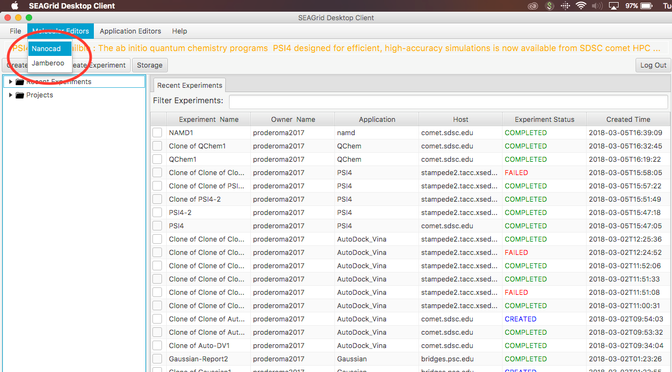
Image I - Desktop client home. Select Nanocad - After NanoCAD has launched, take your time to read text "Summary of NanoCAD Commands" at the top of NanoCAD window (Indicated by the green box in Image I).
- You will get the basic idea how to use NanoCAD.
- Click 'Clear' to remove the existing water molecule.
- Click 'Structure'.
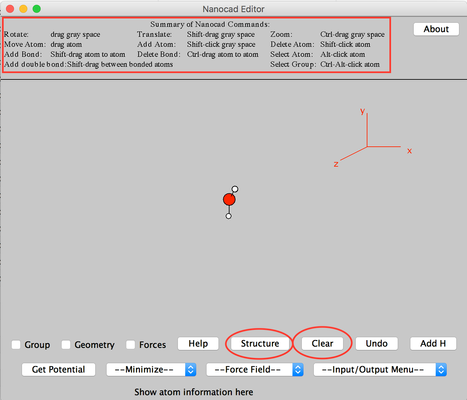
Image II - Nanocad editor, clear the water molecule
- From 'Import Structure' click Database and then select CSD.
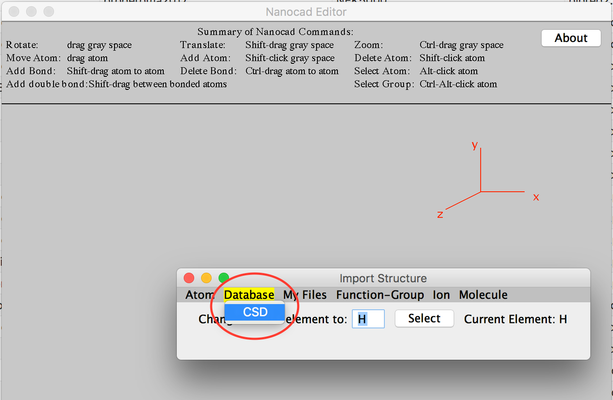
Image III - Select CSD to search for a new molecule - Search for ‘pentanediol’ (This would take about 20 seconds). From the list given, double-click on the second one ‘anti-2,4-Diphenylpentane-2,4-diol’.
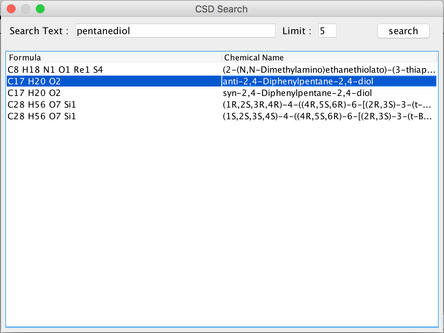
Image IV - Pentanediol search results in CSD search - The complex will get ported into the Nanocad editor. Break the C bond between the highligted atoms. Then select ‘Group’ and do ctrl+alt+click on the C atom (Highlighted in the image) of Phenyl. Then once the group is highlighted, click ‘Clear’ and remove the phenyl molecule.
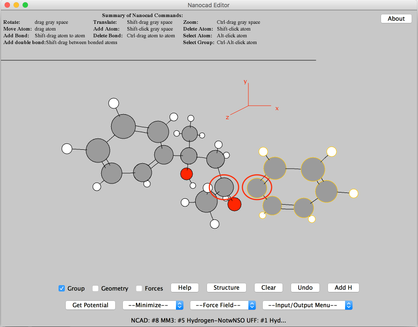
Image V - anti-2,4-Diphenylpentane-2,4-diol complex in Nanocad editor - Similar to above remove the bind between the highlighted Cs and then remove the highlighted phenyl molecule similar to above.
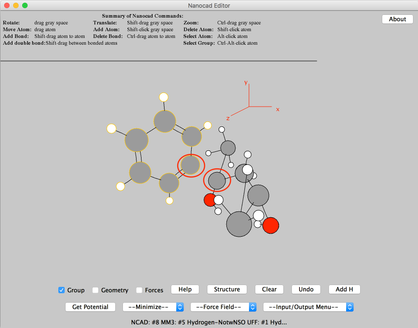
Image VI - anti-2,4-Diphenylpentane-2,4-diol complex with removed atoms - Ctrl+click on the gray background area to center the molecule. You can rotate the molecule by click and drag.
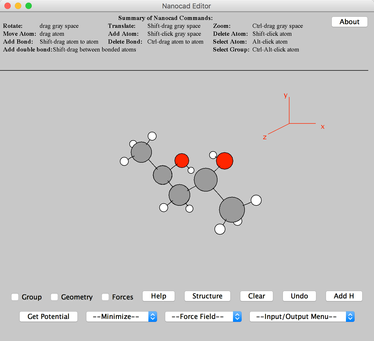
Image VII - Pentanediol acid - Click 'Add H' button – on lower righthand corner.
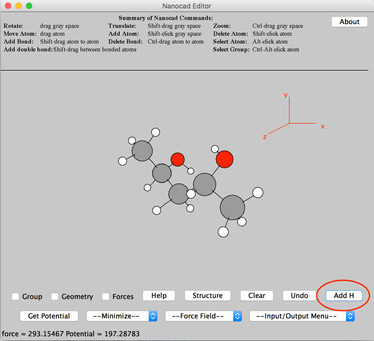
Image VII - Add H to the molecule - Import the molecule as a Gaussian input
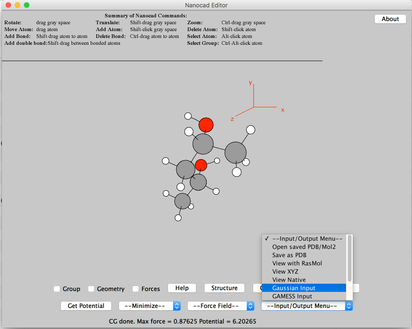
Image VIII - Importing as Gaussian input - Read and say OK, to the confirmation and warning message.
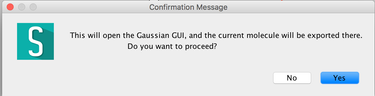
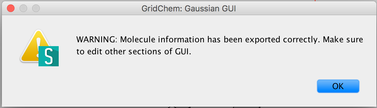
Image IX - Confirmation and warning messages on exporting molecule. Above input file is then exported into Gaussian Editor GUI. Add the Methods and Wavefunction.

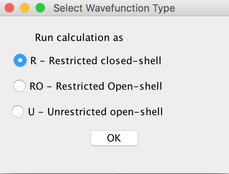
Image X - Add Method B3LYP & Wavefunction- Add Basis set
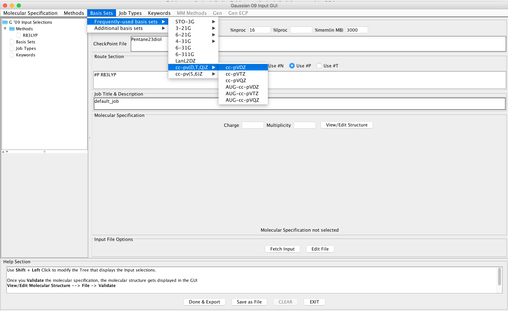
Image XI - Add Basis set - Add Job Type
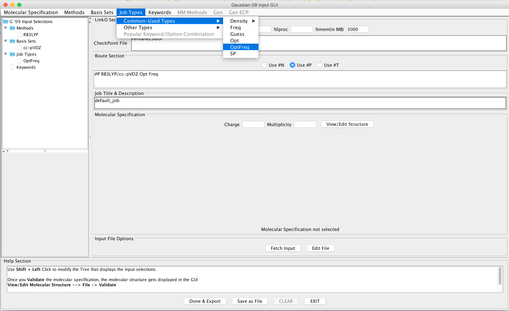
Image XII - Add Job type - Add Keywords, 'Common Keywords' → Pop and from the pop-up window select 'Reg' and click 'Done'. From 'Other Keywords' select GFInput, GFPrint and IOp. From IOp window add Overly=6, Option=7 and Value=3 click 'Done' on both windows.
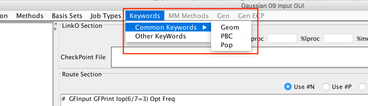
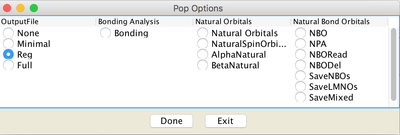
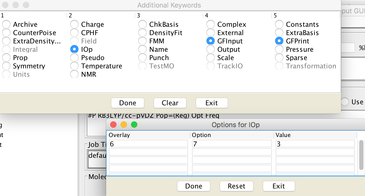
Image XIII - Adding Keywords to the Gaussian input - In Gaussian GUI add
- %nproc - 16
- %mem - 3000
- Checkpoint File - Pentane23diol
- Check Use #P
- Add job title and Description - Pentane23diol #P RB3LYP/cc-pVDZ Pop=(Reg) GFInput GFPrint Iop(6/7=3) Opt Freq
- Charge - 0
- Multiplicity - 1
- Now 'Done & Export'.

Image XIV - Final configurations in Gaussian GUI - In the Create Experiment window
- Provide an experiment name
- Select comet.sdsc.edu to run the job
- Choose 'Shared' queue
- Submit
Manage space
Manage content
Integrations